 InDiCo Administrator's User Guide InDiCo Administrator's User Guide | ||
|---|---|---|
| Prev | Chapter 2. Administration Area | Next |
From the User option in the Tools Menu you can control and modify any of the user accounts.
To manually create a new account use the 'new user' option in the Tools menu. You will be presented with the same form to fill in as a user creating their own account, fill in and submit this form to create the account. You will still need to activate the account.
You can search for a user by their surname, first name, email address or organisation.If you are not sure of the full details you can enter the first few letters and it will show all the users that match your search. The Search filter is found by clicking on 'Users' in the Tools menu.
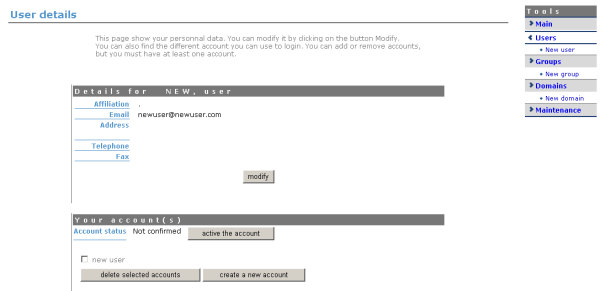
To Activate an account from within the administration area, go to the 'Users' option in the Tools Menu and search for the user's account using the filter, then select the account you wish to activate, this will take you to the user's details:

If an account is not already activated its status will be 'not confirmed' click the button next to the status in order to activate the account. The account status will then be changed to 'activated' the user for that account will now be able to log in.
From the Users Details screen above you have the option to modify the users' details from here you are able to modify the users affiliation, email address, postal address, telephone number and fax number.
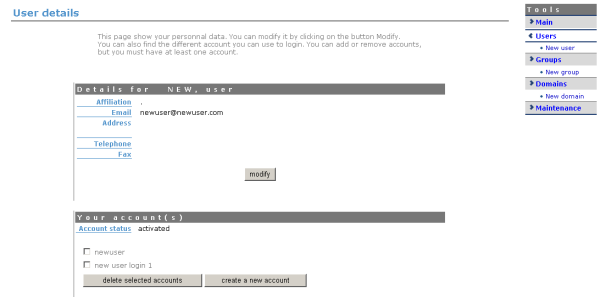
A user may have more than one login (username and password) on their account, this can be useful if a user has certain access rights with one login but not with another, they can then choose which login to use when using InDiCo.

To create a new login account for a user, use the 'create a new account' option this will take you to a screen where you can enter a new username and password. Once the new account is added it will show in the User Details screen as above
To delete any additional account logins select the accounts for that user that you wish to delete and use the 'delete selected accounts' option from the User Details screen above. A user must have one login account however.